Tutorials
Simple widget
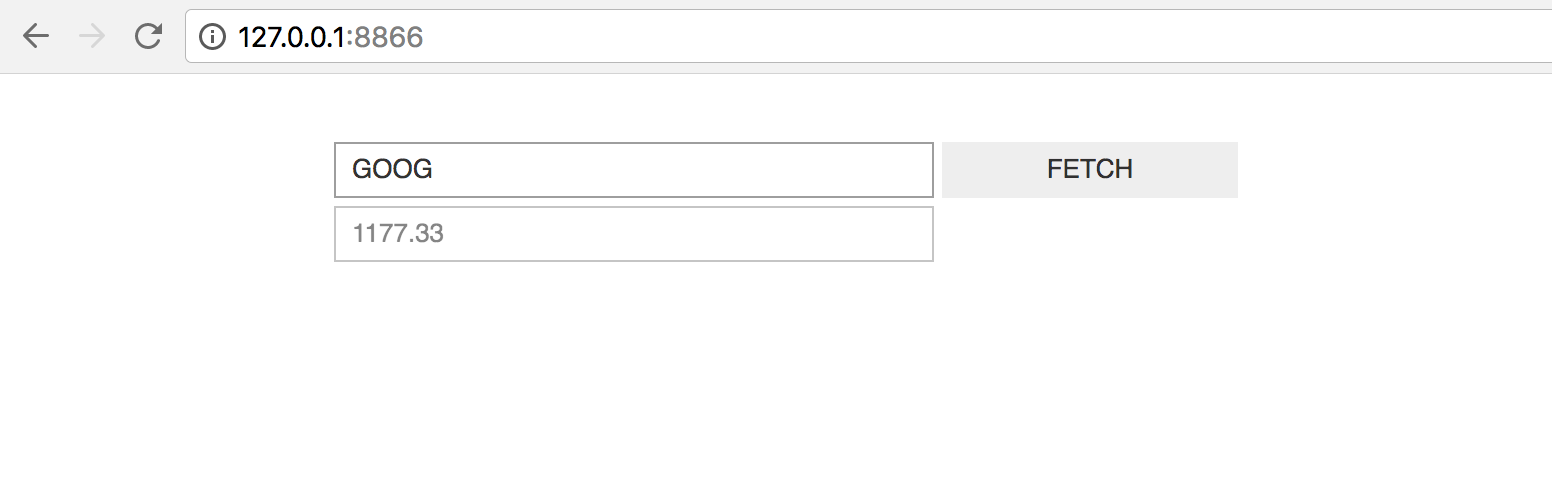
Let’s build a stock price fetcher. We will allow the user to enter a stock ticker symbol and fetch information about the current stock price from the Quandl API. The code for this example is also available in examples/stock_price.
# example.py

from urllib.request import urlopen
from urllib.error import HTTPError

import json

import ipywidgets as widgets


BASE_URL = 'https://www.quandl.com/api/v3/datasets/WIKI/{}.json?rows=1'

stock_input = widgets.Text('GOOG')
fetch_button = widgets.Button(description='FETCH')
result_container = widgets.HBox([
    widgets.Text(disabled=True)
])

def get_stock_price(symbol):
    """ Fetch stock price for `symbol` from quandl API """
    with urlopen(BASE_URL.format(symbol)) as response:
        response_json = json.loads(response.read())
    return response_json['dataset']['data'][0][1]


def handle_fetch_error(error, symbol):
    if error.code == 404:
        message = 'Stock symbol {} not found'.format(symbol)
    else:
        message = 'Unexpected error'
    result_container.children = [widgets.Label(message)]


def on_button_click(arg):
    """ Callback when 'fetch' button is clicked """
    # Disable widgets to give feedback that something is happening
    stock_input.disabled = True
    fetch_button.disabled = True

    # Fetch the stock price
    symbol = stock_input.value.upper()
    try:
        stock_price = get_stock_price(symbol)
        result_container.children = [
            widgets.Text(str(stock_price), disabled=True)
        ]
    except HTTPError as error:
        handle_fetch_error(error, symbol)

    # Re-enable the widgets
    stock_input.disabled = False
    fetch_button.disabled = False


fetch_button.on_click(on_button_click)

container = widgets.VBox([
    widgets.HBox([stock_input, fetch_button]),
    result_container
])
To run the example, enter this shell command:
$ ipywidgets-server example:container
This will serve this example on the default port, 8866. Visit
http://127.0.0.1:8866 with your browser, and you should see the widget.
We note the following:
- we wrap all the widgets into a top-level container,
container. This is the widget we then askipywidgets-serverto display. - when the user presses the
FETCHbutton, they should receive some feedback that the application is processing their request. Disabling the user inputs is an easy way to provide this feedback. - depending on whether the stock price fetch was successful, we either display
a text widget with the stock price, or a label widget with an error message.
To render different widgets conditionally, we anchor a container (an
HBox) and swap the container’s children.
Using IPywidget server with Matplotlib
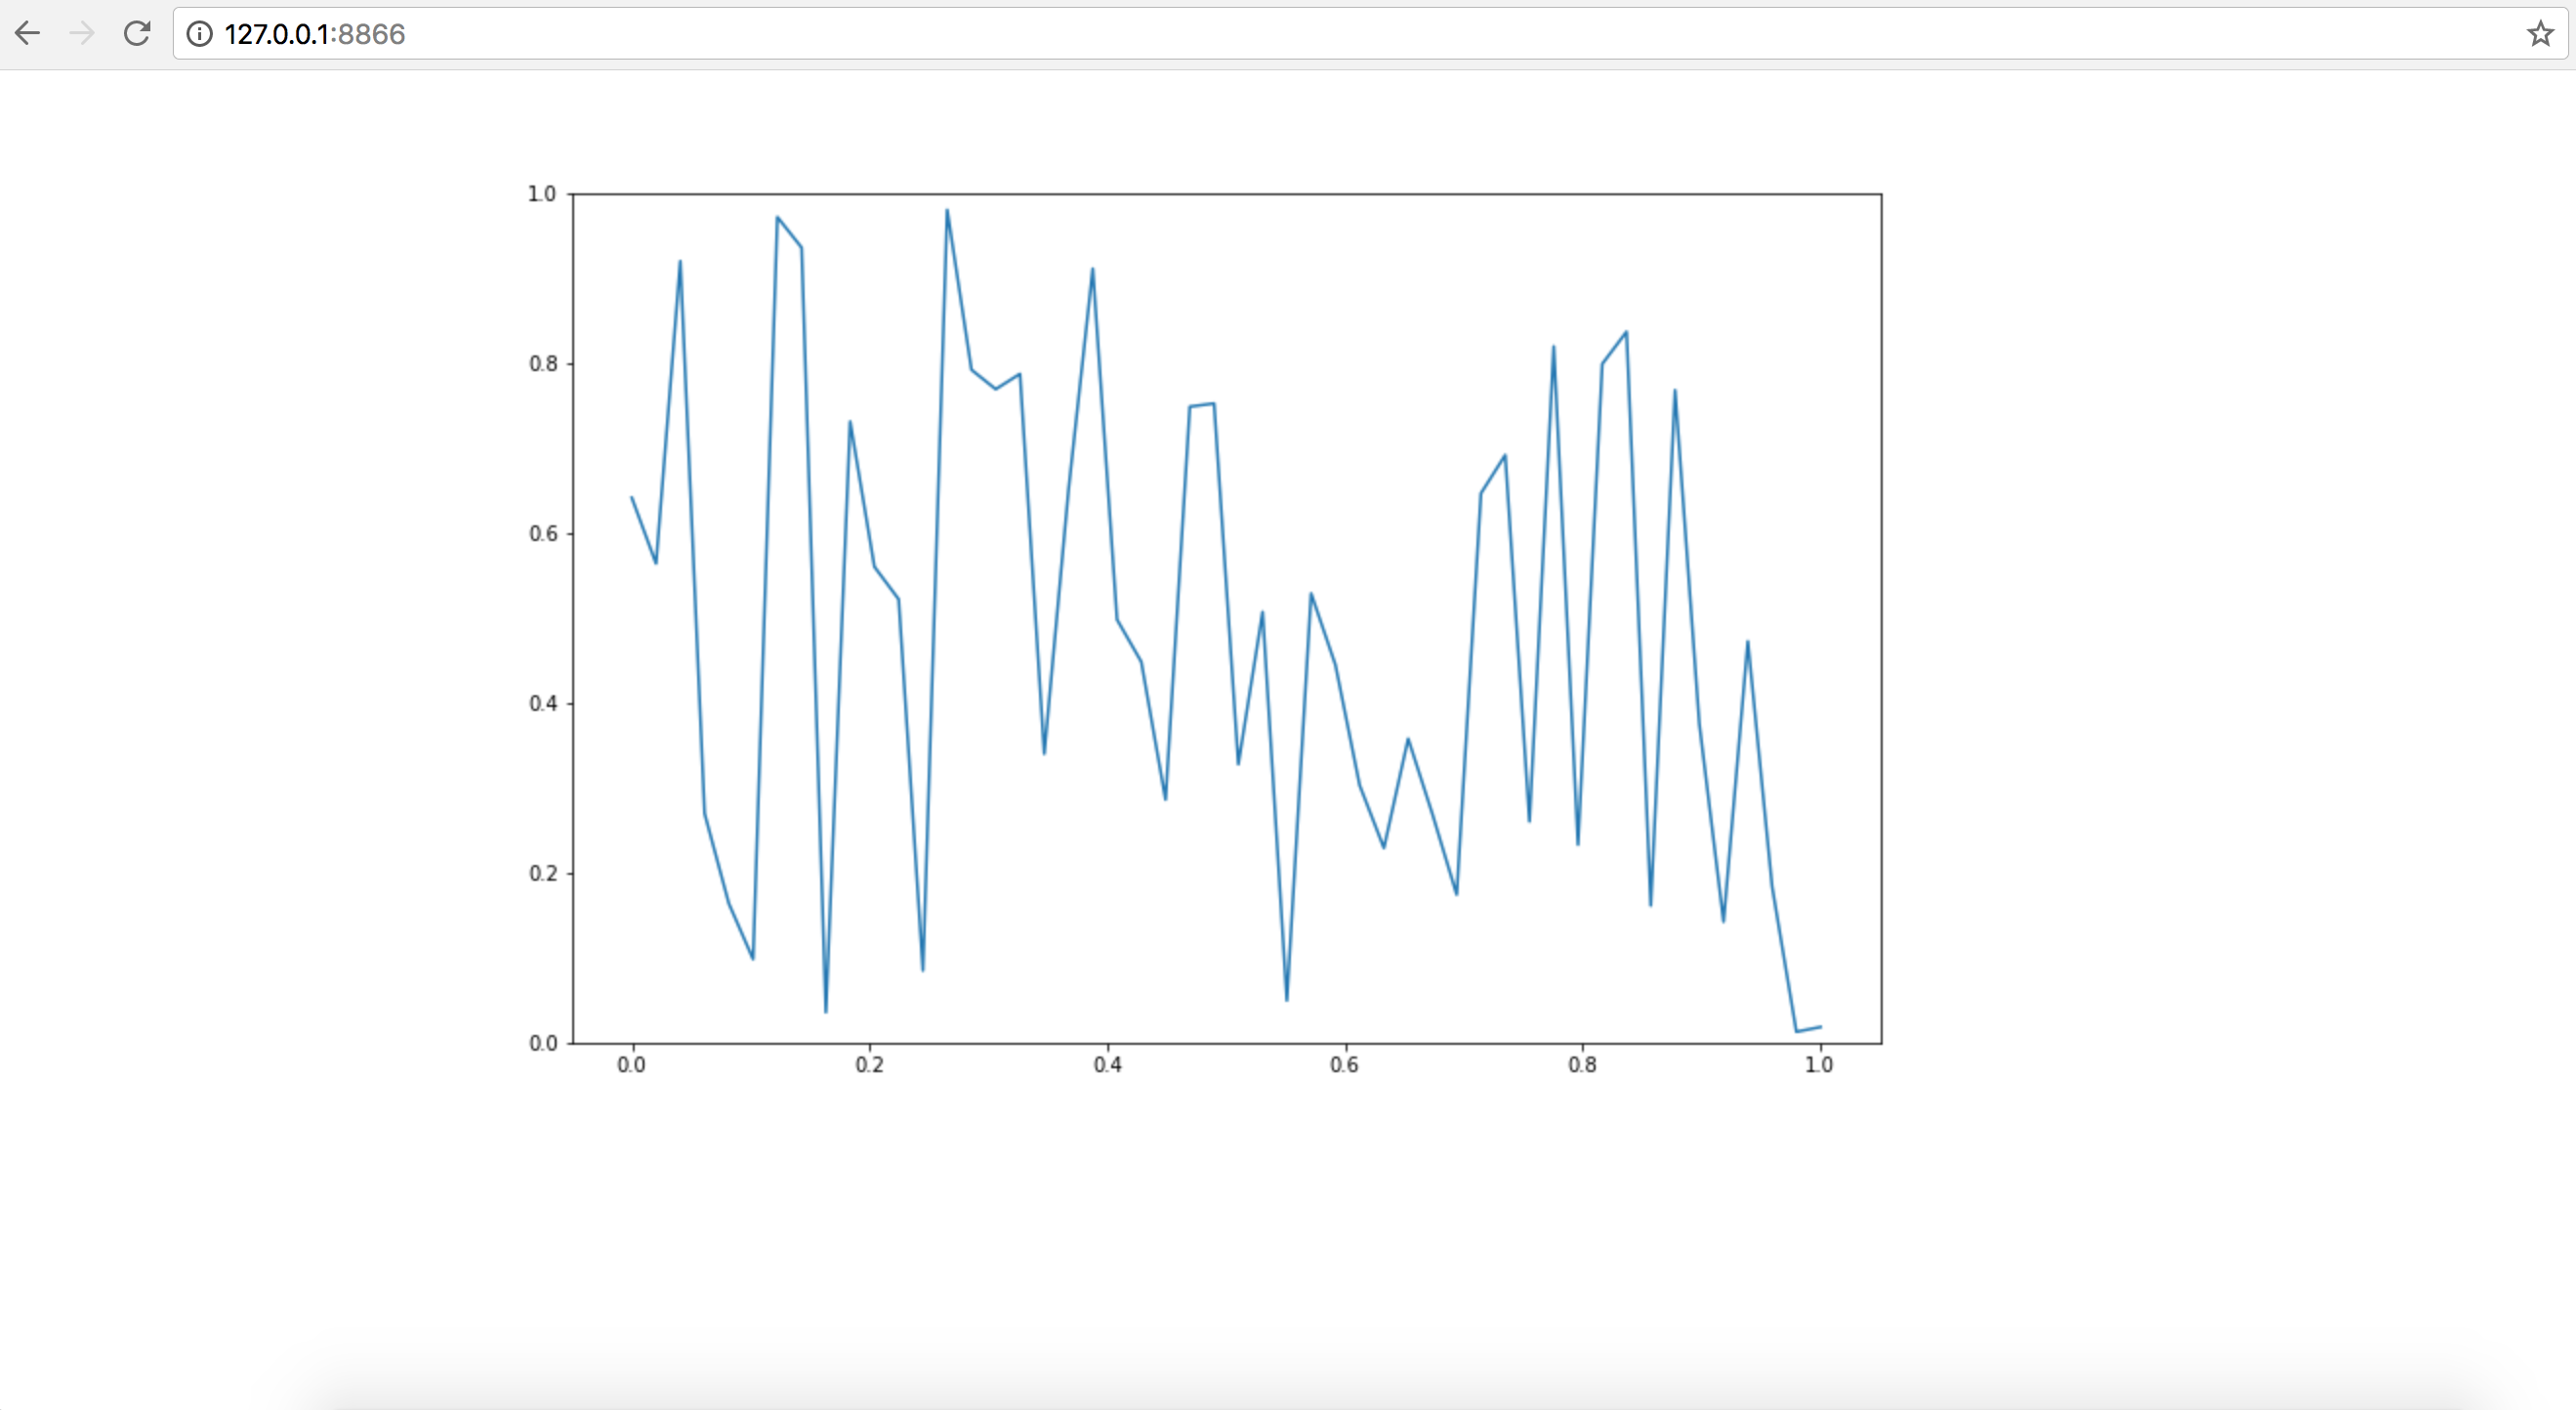
Let’s build a simple application that updates a matplotlib plot every second. We
use an Output widget to get capture the matplotlib plot. We then embed our
output widget in a top-level container. Every second, we generate a new output
widget containing a new plot and swap it into the container. The code for this
example is in examples/matplotlib_random:
# example.py

import time

import matplotlib.pyplot as plt

import numpy as np

import ipywidgets as widgets
from IPython.display import display

SIZE = 50
XBASIS = np.linspace(0.0, 1.0, SIZE)

container = widgets.VBox()

def update():
    """ Generate a new random plot and embed it into the container """
    output = widgets.Output()
    with output:
        fig, ax = plt.subplots(figsize=(12, 8))
        ax.plot(XBASIS, np.random.rand(SIZE))
        ax.set_ylim(0.0, 1.0)
        plt.show()
    container.children = [output]

display(container)

while True:
    # Update the plot in a busy loop
    time.sleep(1)
    update()
Save this script to a file called example.py. You can then run:
$ ipywidgets-server example:container
Head over to http://127.0.0.1:8866 in your browser. You should see the widget.
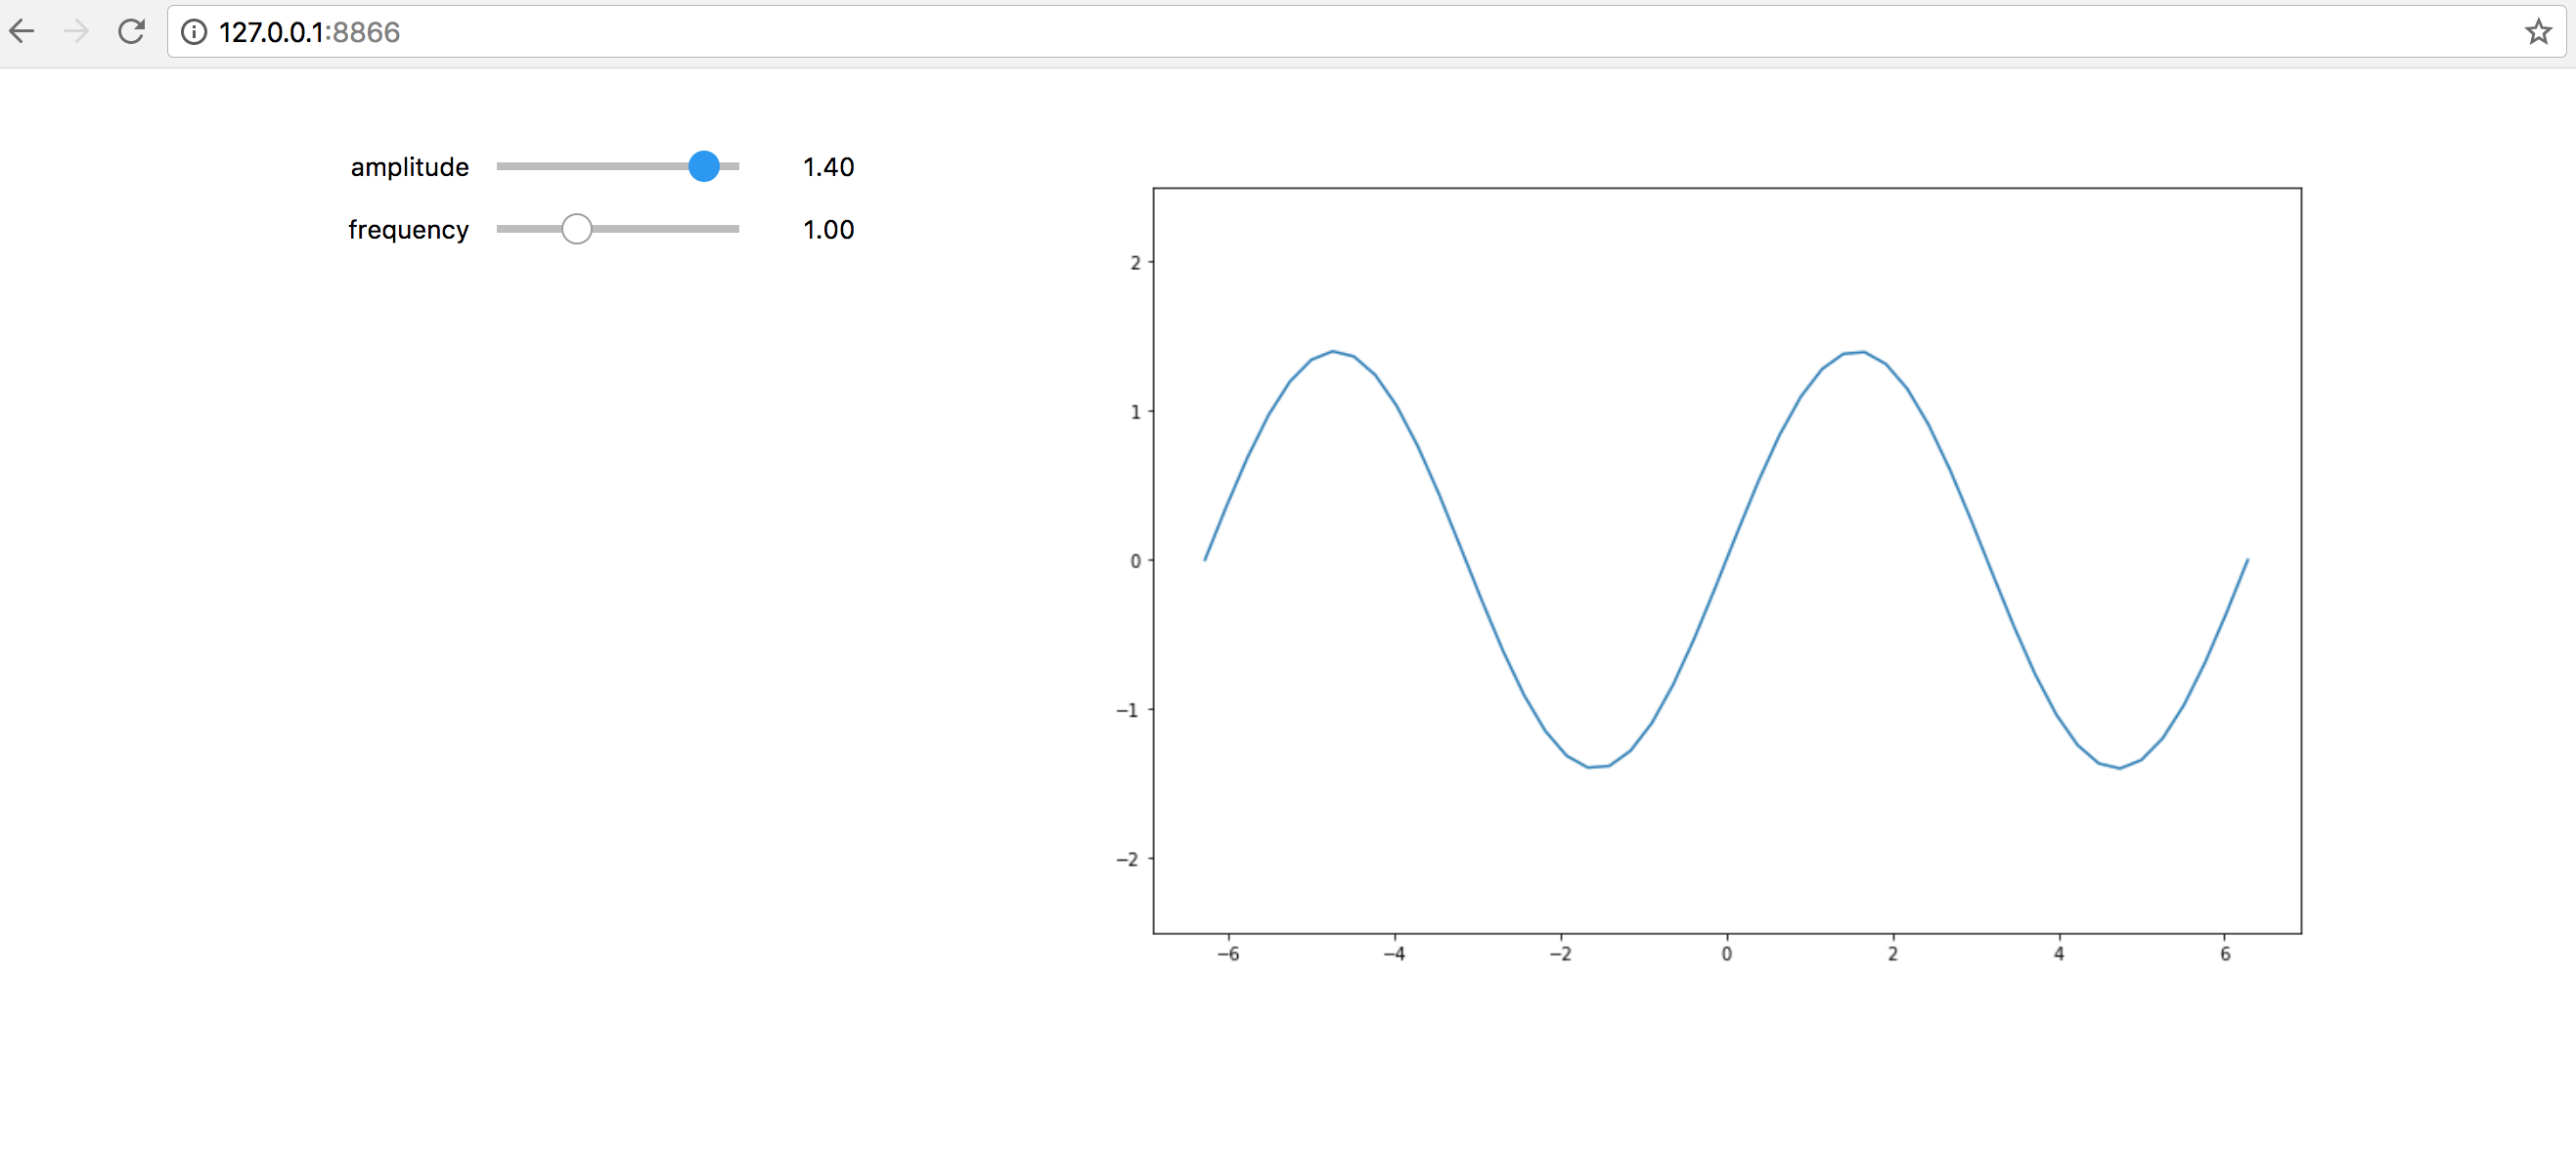
For a more complex example, let’s build a widget to explore how the sin
changes depending on the parameters that are passed. We will plot a *
sin(k*x), with sliders to change the value of a and k. The code for
this example is also available at examples/matplotlib_sine_waves:
# example.py

import matplotlib.pyplot as plt

import numpy as np

import ipywidgets as widgets

XBASIS = np.linspace(-2*np.pi, 2*np.pi)


class SineRenderer(object):

    def __init__(self):
        self._amplitude_slider = widgets.FloatSlider(
            1.0, min=-2.0, max=2.0, description='amplitude'
        )
        self._frequency_slider = widgets.FloatSlider(
            1.0, min=0.1, max=3.0, description='frequency'
        )
        self._bind_callbacks()
        self._controls_container = widgets.VBox([
            self._amplitude_slider,
            self._frequency_slider
        ])
        self._plot_container = widgets.HBox([])
        self._application_container = widgets.HBox([
            self._controls_container, self._plot_container
        ])

    def _bind_callbacks(self):
        self._amplitude_slider.observe(
            self._on_param_change, names='value')
        self._frequency_slider.observe(
            self._on_param_change, names='value')

    def _on_param_change(self, change):
        self.render()

    def render(self, change=None):
        amplitude = self._amplitude_slider.value
        frequency = self._frequency_slider.value
        output = widgets.Output()
        with output:
            fig, ax = plt.subplots(figsize=(12, 8))
            ax.plot(XBASIS, amplitude * np.sin(frequency*XBASIS))
            ax.set_ylim(-2.5, 2.5)
            plt.show()
        self._plot_container.children = [output]
        return self._application_container


container = SineRenderer().render()
Save this script to a file called example.py. You can then run:
$ ipywidgets-server example:container
It is worth noting the following:
- we wrap the application into a controller class responsible both for generating the view and for reacting to user actions. Using a class provides better encapsulation and re-use.
- in the class constructor, we handle rendering the static components of the view. We create two container widgets, one to hold the sliders and one to hold the plot. We stack these two containers in an
HBox, the top level widget holding our application.- We handle reacting to changes in the sliders by observing the
valuetraitlet of the slider. The.observemethod takes a callback as first argument. The callback that we pass in just re-renders the plot. The second argument to.observeis a list of attributes of the slider to observe. We only want to react to changes in the slider value (rather than, say, its maximum or minimum).- The
rendermethod of our application renders the dynamic components and returns the top level widget.